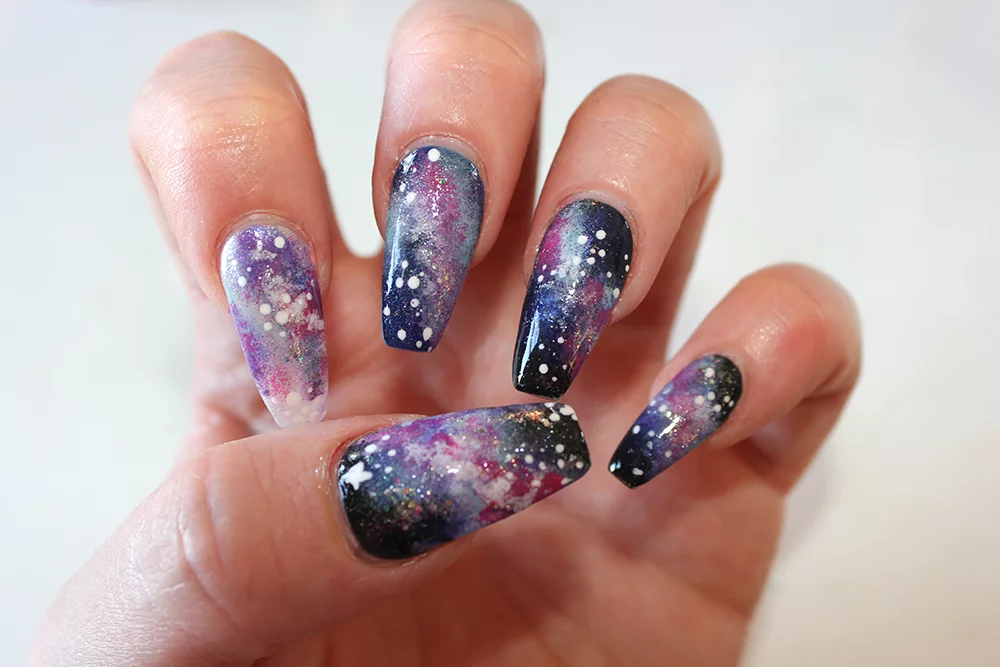
We’ve got an out of this world nail tutorial for you! Galaxy nails are a great way to add some fun to your fingers. They’re a simple DIY design, whether you’re a beginner or pro. Because you don’t have to be too exact when painting, you even get your non-dominant to look bomb with this style (we know that’s the ultimate struggle).
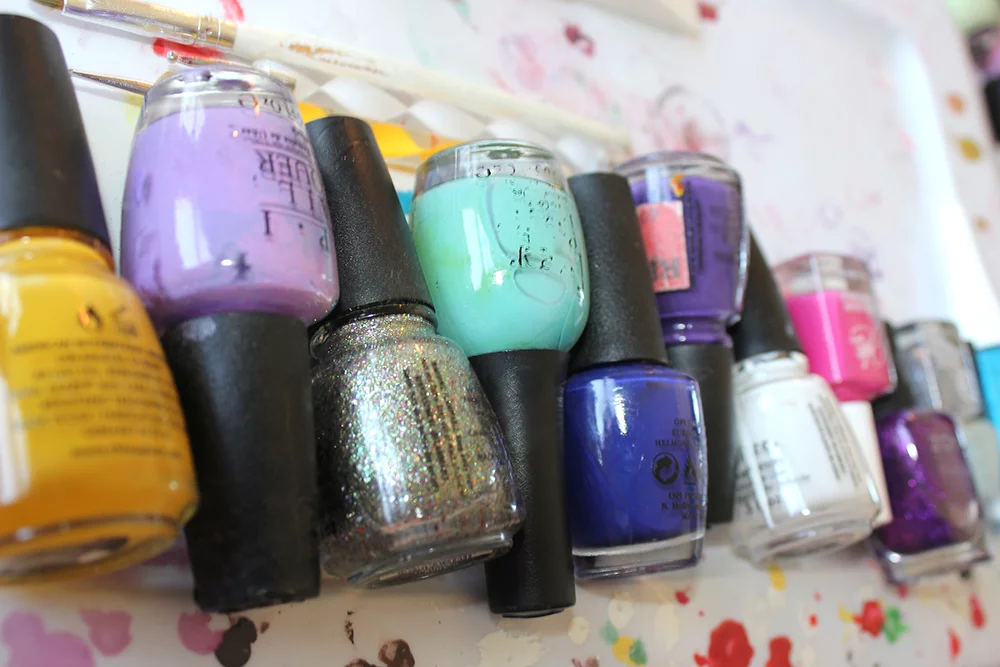
You wanna start with a base color, black is most common, but for variety I’m gonna show you the look on navy and pearl bases also! Then gather up a variety of polishes in pinks/purples/blues/glitter (yassss) and an opaque white.
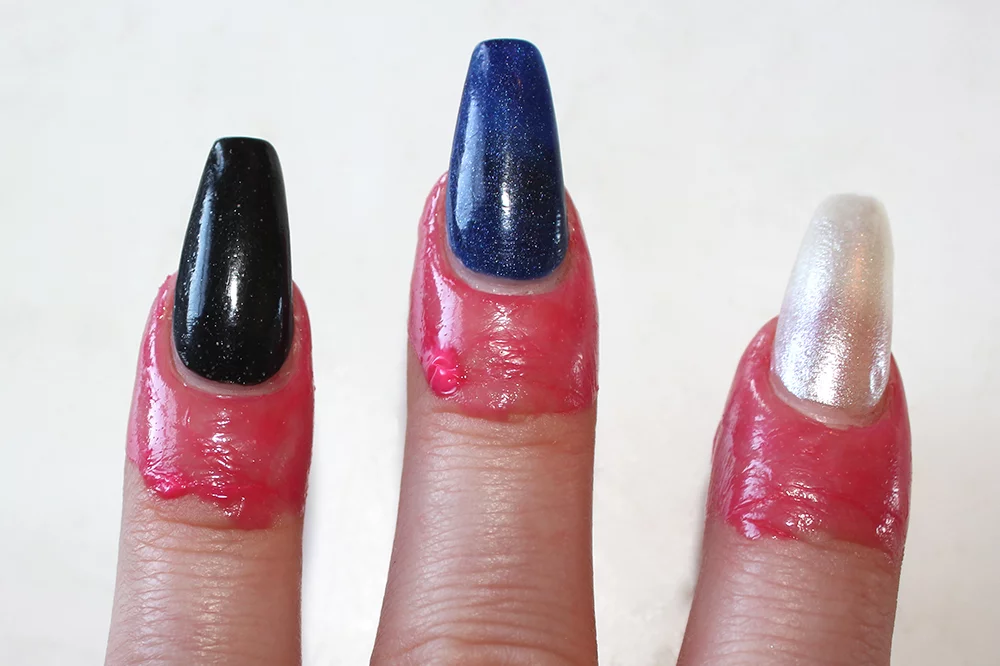
If you have a cuticle guard peel-off polish, paint that around your cuticles to save some major time cleaning up! Grab a triangle makeup sponge and cut or tear it up into little pieces. This is what you’re gonna apply the galaxy with! Now you’ve got all the prep work done, time for the fun stuff.
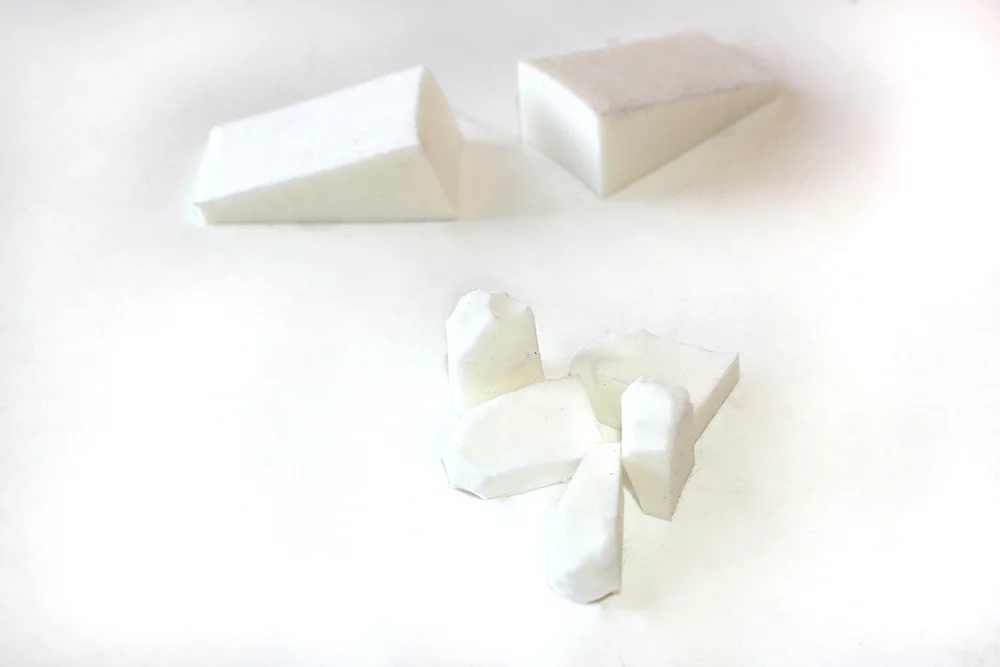
Just grab one of your little shards of makeup sponge and a polish and start stamping! You can work your colors into galactic type pattern for a more believable effect. Varying between deeper colors and bright colors will add dimension to your mini galaxies.
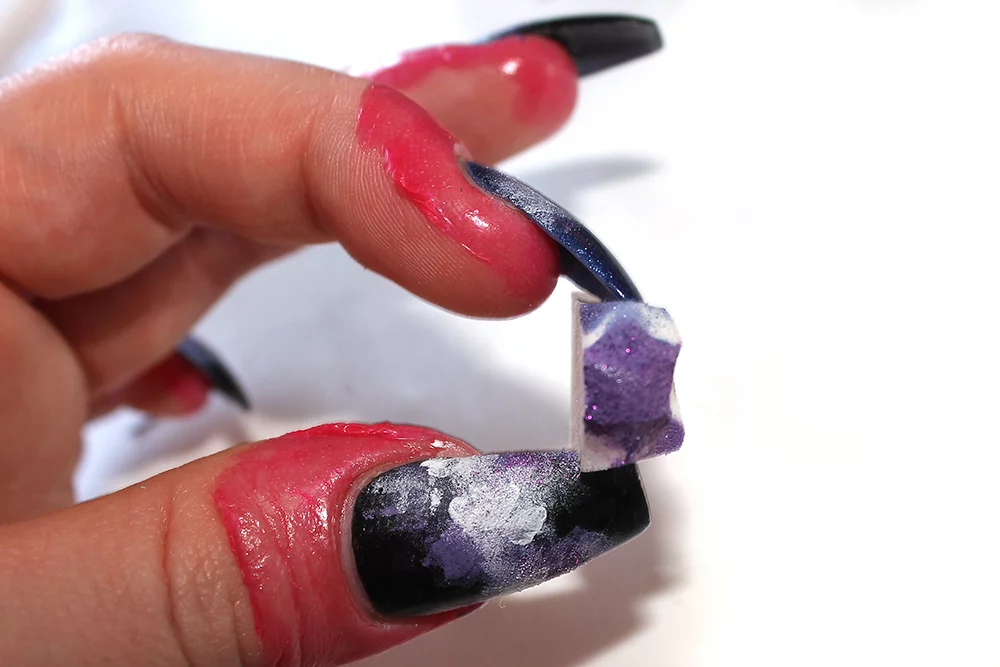
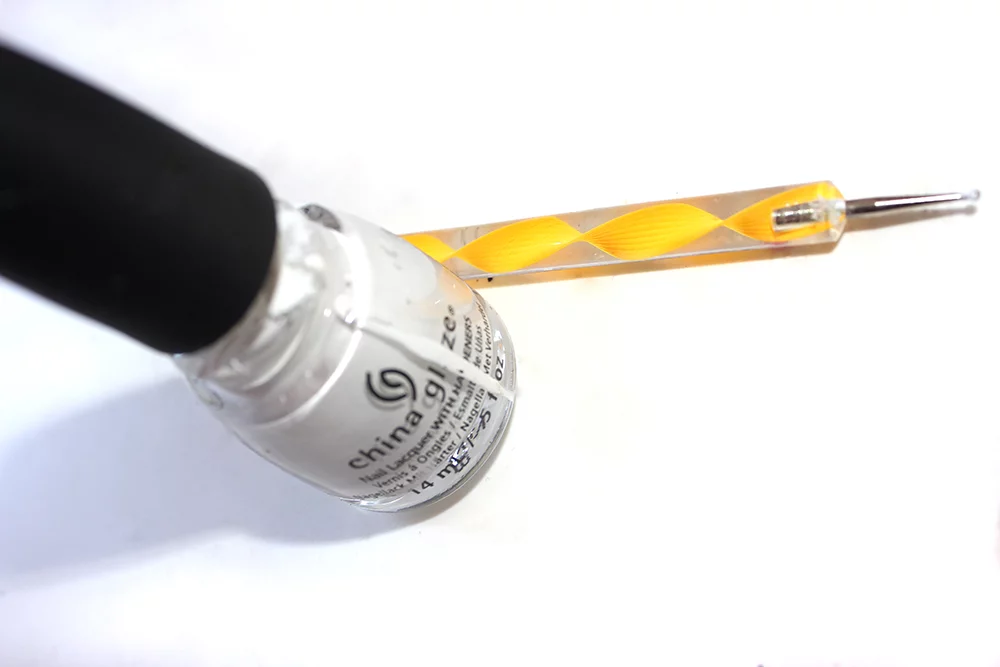
After you stamp on about 4-5 layers of color (and white!), it should start to come together! You can add some glitter at this point, like little distant stars. Then you wanna grab a dotting tool and your white polish to add little clusters of stars.
Finish with a shiny top coat, and you’re ready for a tour in the Starfleet Academy.
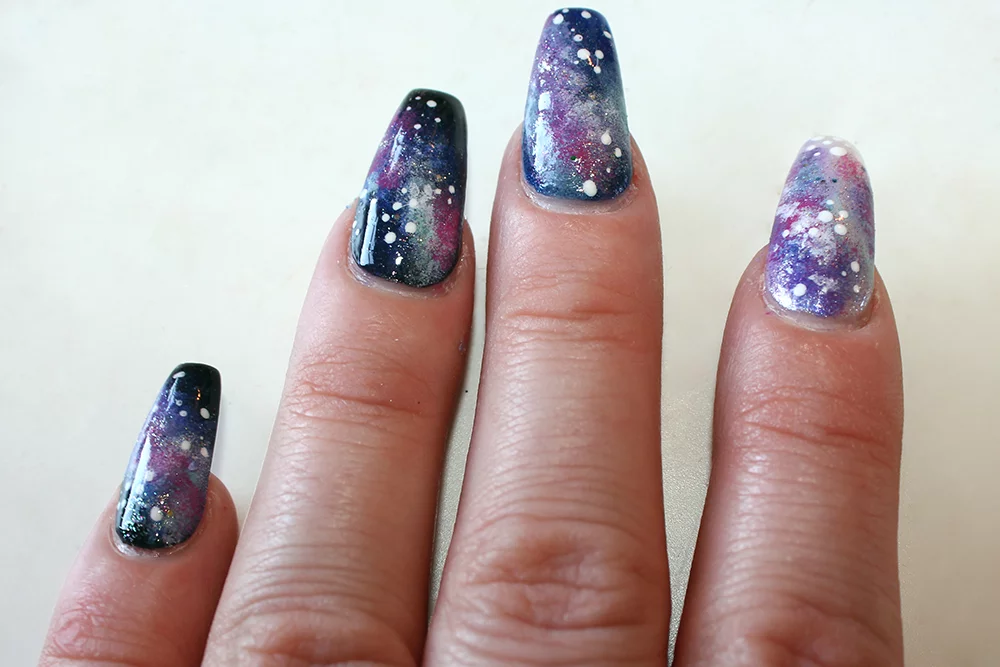
We love to know what you think of this quick nail tutorial! If you try it out, be sure to #LiveGlam on Instagram.
