
Contour and highlight have always been cornerstones of makeup artistry and application. However, in more recent years, those two steps have gone from extreme to extreme; contours are sharp and highlights are “blinding”. While the ultra-sculpted look has softened into a more natural glow and subtler shadows, the steps shouldn’t be missed.
If you’re just getting into the contour and highlight life, here are 6 tips you should know!
Avoid the white-cast
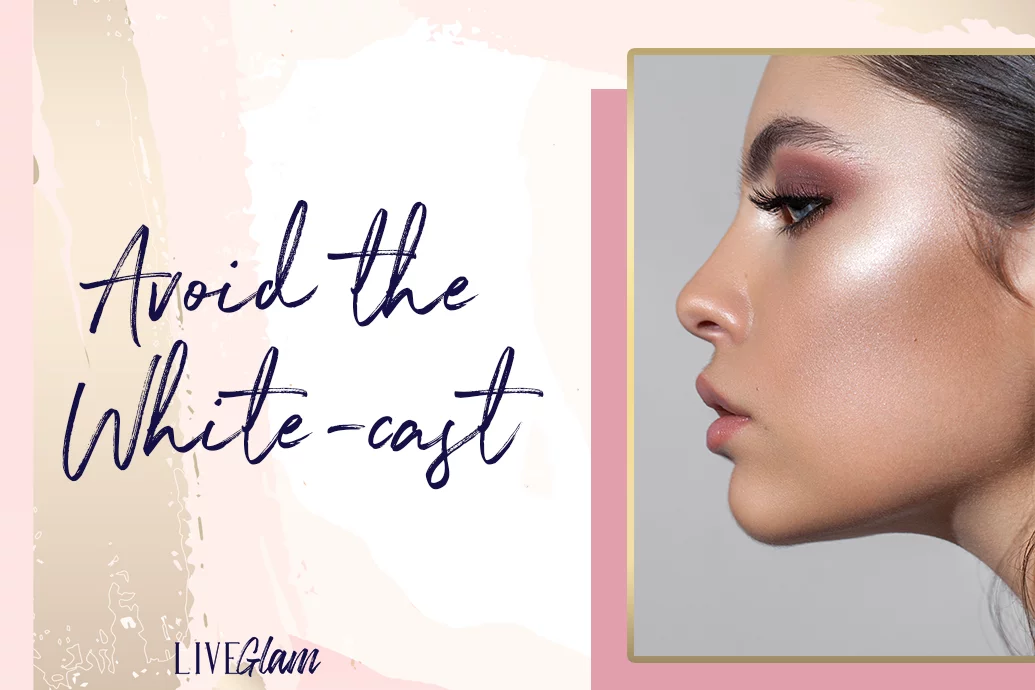
Highlight can either make your face sculpted and glowing, or it can make you textured and stripy. If you look straight into the mirror, turn your head slightly, and see a greyish white streak where your highlighter sits, it’s too light and/or too heavily applied.
Start by finding a highlight that either matches or is slightly lighter than your skin tone. For example, tan skin looks stunning with a deep gold or champagne highlight as opposed to a pearly silver.
Then, apply a light layer, blend, then step back and look. To avoid enhancing texture, press powder highlights into the skin with your fingers after applying with a brush. This stops the powder from sitting on tiny hairs or pores and melts it into the skin.
Highlight the bridge of the nose, not the tip!
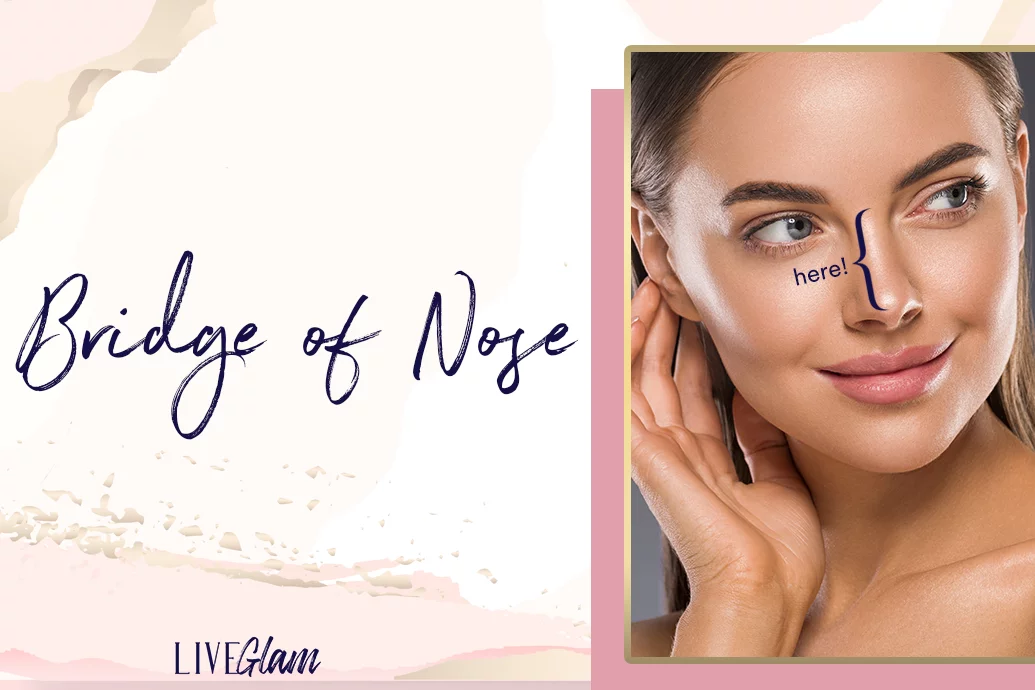
Okay, to each their own, but a heavy dose of highlight on the tip of the nose isn’t flattering. To sculpt the face and add dimension (as opposed to simply creating one misplaced dot) dust the highlight along the bridge of the nose.
To further sculpt and celebrate the nose, take a tiny shadow brush and buff a little contour along each side of the ridge. Stand back, ensure there are no obvious lines, and blend with a clean brush.
Opt for a cool contour…but don’t go grey
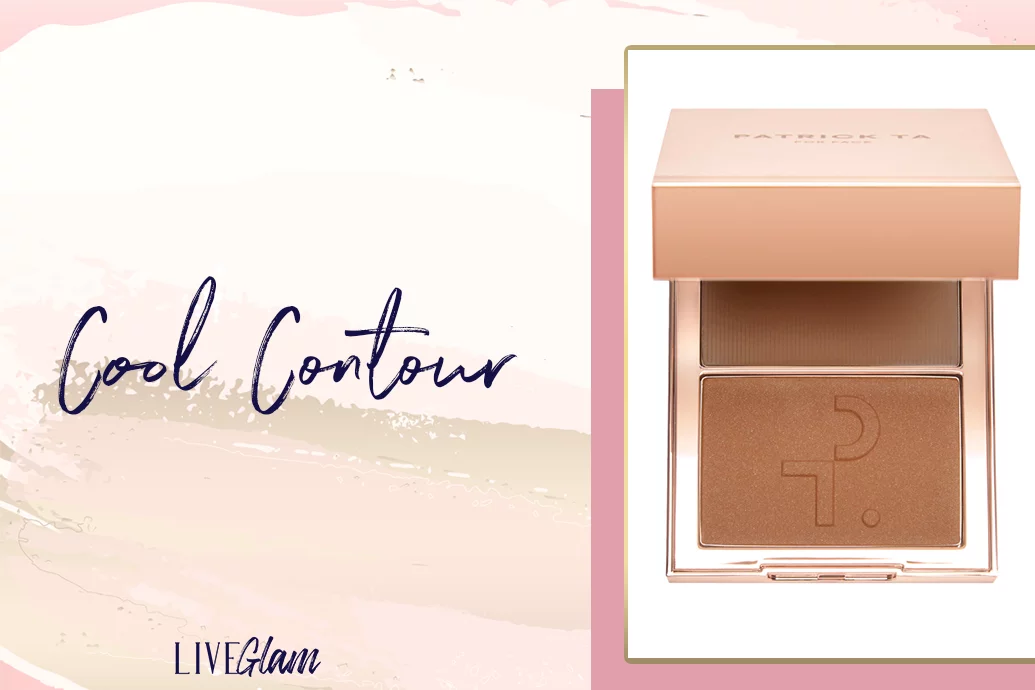
Using a straight-up bronzer as a contour won’t always give you the result you’re looking for. Sure, it can add warmth and dimension, but it won’t give that chiseled effect. Remember, bronzer adds warmth like the sun (think a healthy tan), while contour adds cool depth, like a shadow.
Find a contour on the cooler side, but with enough warmth to keep it from being grey, ashy, or ghostly.
Avoid daytime texture by using a creamier highlight
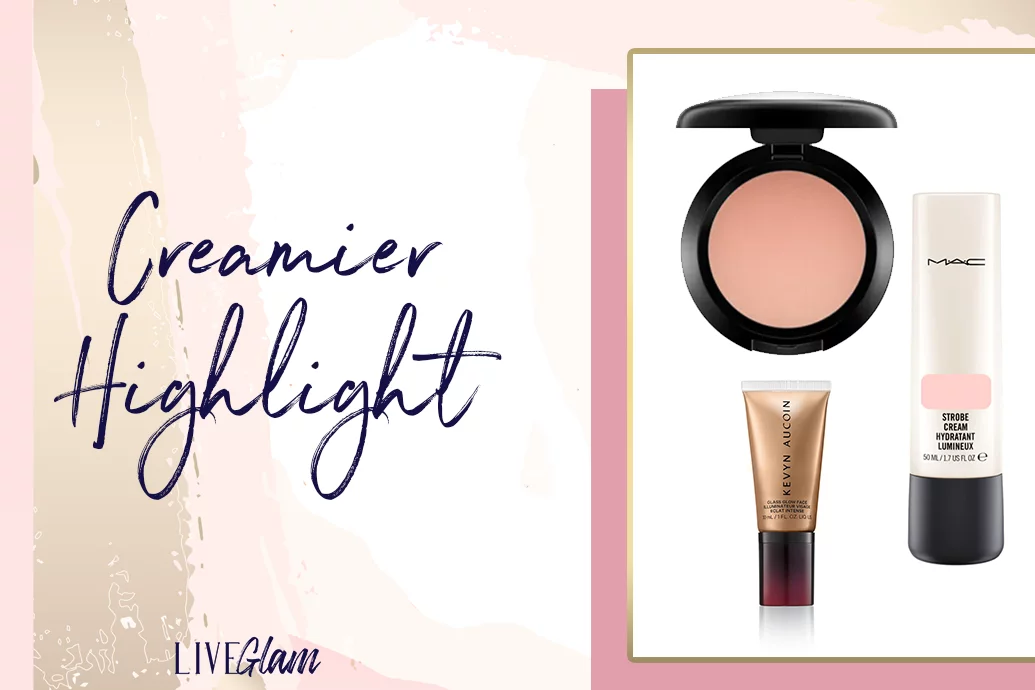
Very shimmery, powder highlights are designed to draw light and attention to where they are applied. It makes sense, therefore, that any texture will also be highlighted. While a light hand and hardy blending can reduce this, sometimes it’s unavoidable. To resolve this, a creamy, balmy highlight is a great option, as long as the shimmers are subtle and glitter is a no-show.
With balms, gels, and creams, the highlight comes from the texture of the actual product as opposed to the shimmer pigments. Plus, the emollient texture glides over the skin, beautifying and smoothing it as opposed to settling in nooks and crannies.
My favorite liquid, cream, and balm highlights are:
- Kevyn Aucoin Glass Glow Face ($32)
- MAC Cream Colour Base in Hush ($25)
- MAC Strobe Cream $35 (subtle but fresh, plump, and luminous)
Big it up at night
One of life’s tiny joys is a POW highlight with the most blinding shimmer. Highlighters look best under candlelight, low light, night light, and moonlight as opposed to the glare of daylight (and office fluro lights!). When heading out for the evening, finish your full glam with a generous dust of ultra-shiny highlight on the high points (including the brow bone and cupid’s bow).
During the day, opt for those balmy, soft, subtle highlights that melt into the skin and create a forgiving sheen.
Don’t bring your contour too low (or too high)
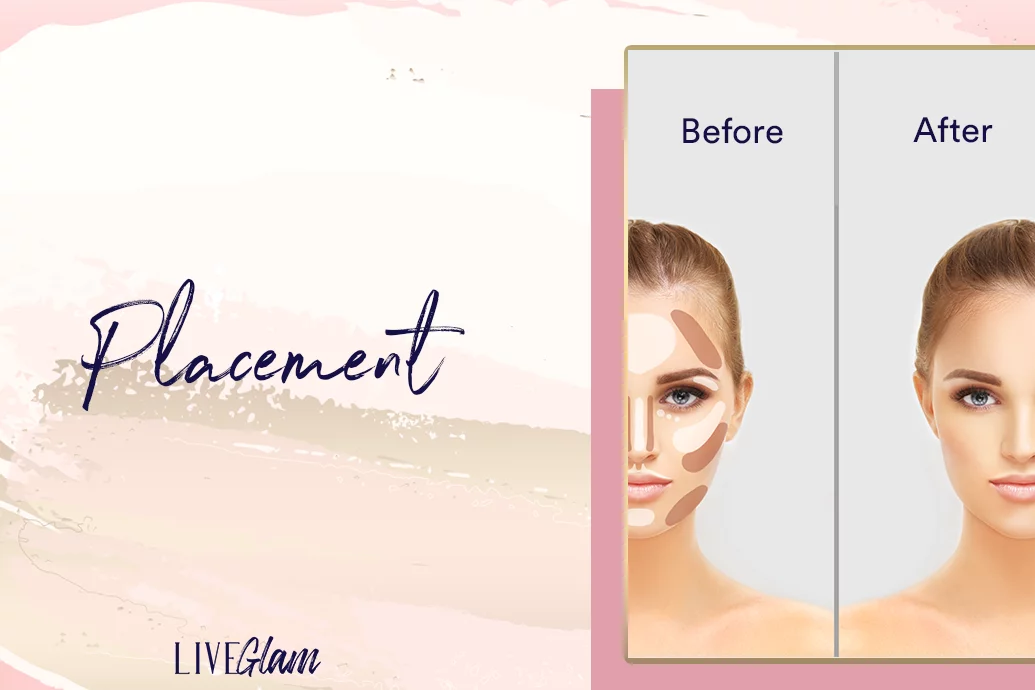
It takes a little trial and error to find the right contour placement for your face. Study your face in the mirror and with different lighting. Watch where the shadows naturally fall and where the light naturally hits. This will help you to find where to place your sculpting products.
When contouring the cheekbones, start with a narrow application just under the bone (starting from the hairline by the ear) and blend upward from there. Don’t blend downward as you run the risk of dragging your face down and creating a smudge as opposed to a shadow.
Tip: before washing your face at the end of the day, have a play around with contour and bronzing products. Try different placement and experiment with contouring the jaw, nose, cheeks, and forehead. It doesn’t matter if you mess up, you’re about to wash it all off!

LiveGlam